
Getting started
A quick reference for creating your account, your first wedding, and finding your way around the dashboard.
This page is a short reference for what to do first.
Creating an account
Sign up with your email address, or use Google if you'd rather not set a password. You'll be asked whether you're planning your own wedding or working as a professional planner — this decides what your dashboard looks like from the start, but it isn't a permanent choice; a planner can still be invited to a couple's wedding, and a couple can still invite a planner to theirs.
Creating your first wedding
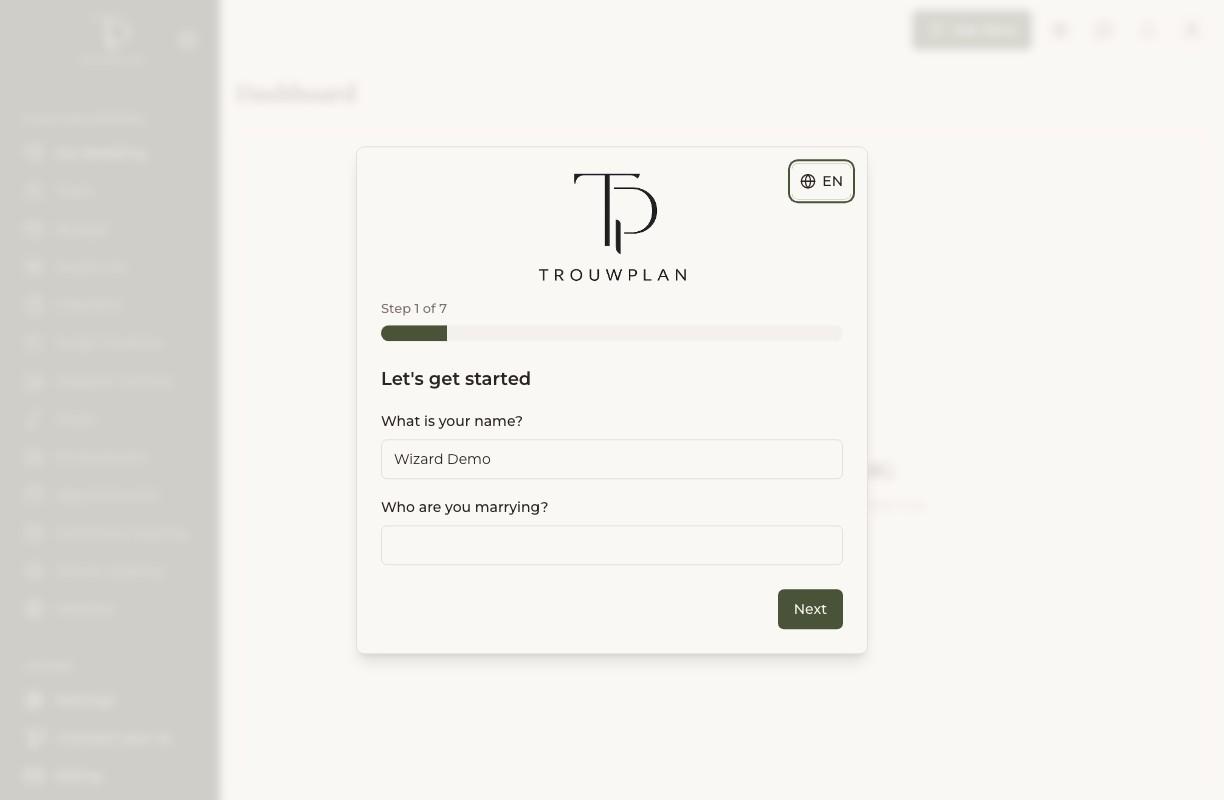
Once you're signed in, a short setup wizard walks you through your first wedding: your name, the wedding's name, the ceremony date (optional — most of Trouwplan works without one, but a few features, like RSVP deadline reminders, need it to calculate from), the venue, an estimated guest count, and your budget. From the venue step onward, every step can be skipped and filled in later.
Your progress is saved automatically as you go, so closing the tab, reloading the page, or switching your display language partway through picks up right where you left off.
The dashboard layout
Once a wedding exists, your dashboard is organized around it: a sidebar for jumping between guest list, seating, budget, checklist, and the other planning tools, and an overview page summarizing where things stand — how many guests have RSVP'd, how many checklist items are left, and so on.
Choosing your path
- Planning your own wedding? Start with the checklist and guest list, then invite your partner so you're both working from the same plan.
- Working as a planner? Create a wedding per client, or invite yourself into a couple's existing wedding. Your dashboard lists every wedding you manage, so you can switch between them without losing your place.